If you’re eager to discover the art of creating plastic bottles, we’ll help you for that. In this beginner-friendly guide, we will walk you through the step-by-step process of molding plastic bottles with ease. From understanding the materials you need to get familiar with the molding equipment, we’ve got you covered. We’ll explore various molding techniques and share tips for achieving the perfect bottle shape. Whether you’re a hobbyist or a budding entrepreneur, our detailed instructions willhelp you craft your plastic bottles like a pro. Let’s get started!
What are mold plastic bottles?
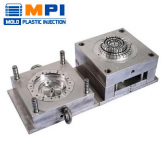
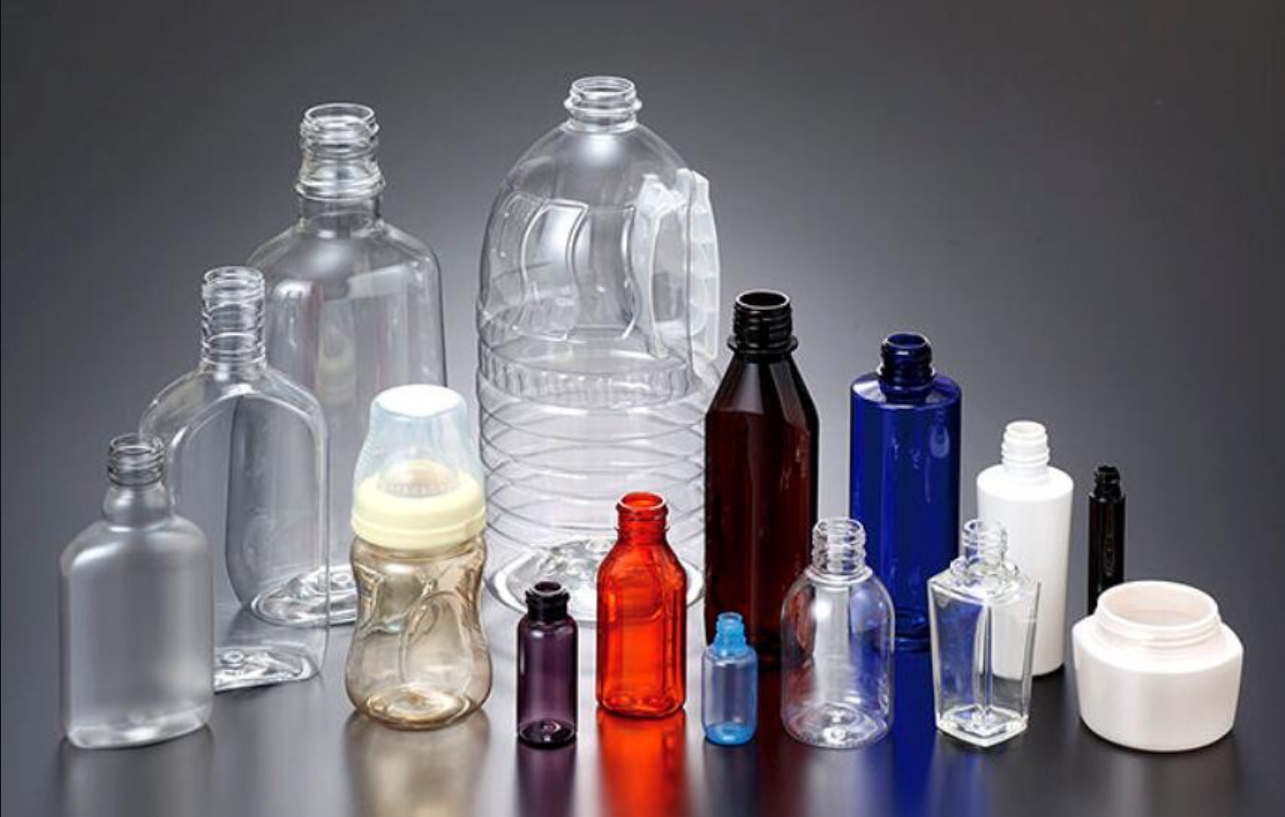
Mold plastic bottles are containers made by shaping melted plastic into a specific form using a mold. The process begins by melting plastic pellets. Next, inject the molten plastic into a mold, shaping the bottle. After cooling, open the mold and remove the finished bottle. These bottles have various sizes, shapes, and colors, making them versatile for different purposes.
They are commonly used for packaging beverages, household products, and personal care items. Mold plastic bottles are popular due to their lightweight, durability, and cost-effectiveness. Recycling is also possible, reducing their environmental impact.
These bottles are easily available in stores, but some manufacturers also offer custom designs for unique needs. Always look for BPA-free options for safer usage. Whether for storing liquids, organizing, or crafting, mold plastic bottles are practical and convenient for everyday use.
Different types of the plastic bottle moulding
Plastic bottle molding involves shaping melted plastic into various types of bottles using specialized molds. There are several methods for molding plastic bottles, each with unique advantages and applications. Let’s explore the different types:
Injection Molding:
The most common method for producing plastic bottles. Melt plastic pellets, inject them into a mold, and cool to shape the bottle. This process allows for intricate designs and high production rates.
Extrusion Blow Molding:
Ideal for manufacturing hollow bottles like shampoo or detergent containers. Extrude a parison (hollow tube), clamp it in a mold, and blow it to take the mold’s shape.
Injection Blow Molding:
Suitable for small bottles with necks. The process involves injection molding a preform, which is then transferred to a blow mold to create the final container.
Stretch Blow Molding:
Used for PET bottles, typically for beverages. Heat, stretch, and blow preforms into the desired shape within the mold.
Compression Molding:
Perfect for thicker-walled bottles, jars, or containers. Heated molds compress plastic to form the desired shape.
Reheat Blow Molding:
A variation of stretch blow molding involves heating preforms before blowing them into the mold.
Co-Extrusion Blow Molding:
Enables the production of multi-layered bottles, adding barrier properties to enhance product preservation.
How to mold plastic bottles?
Molding plastic bottles is a simple and rewarding process for creating useful, eco-friendly items. You can make your own plastic bottles at home with some knowledge and basic equipment. We’ll walk you through the steps to mold plastic bottles like a pro.
Step 1: Gather Supplies
To start, you will need clean plastic pellets, a mold, a heat source like a toaster oven, and some cooking spray to prevent sticking.
Step 2: Prepare the Mold
Apply a thin layer of cooking spray to the inside of the mold to ensure easy removal of the bottle once it’s formed.
Step 3: Measure Plastic Pellets
Measure the appropriate amount of plastic pellets for your desired bottle size. Make sure not to overload the mold.
Step 4: Fill the Mold
Place the plastic pellets into the mold, ensuring they are evenly distributed throughout.
Step 5: Heat the Mold
Preheat the toaster oven to the recommended temperature for your plastic pellets. Once it’s ready, carefully place the mold inside.
Step 6: Wait for Melting
Keep a close eye on the pellets inside the oven. They will start to melt and take the shape of the mold.
Step 7: Remove from Heat
Once the plastic has completely melted and filled the mold, carefully take the mold out of the oven using oven mitts.
Step 8: Shape the Bottle
Press the melted plastic into the desired bottle shape quickly but carefully using the mold’s top part.
Step 9: Let It Cool
Allow the plastic to cool down and solidify. You can also place the mold in cold water to speed up the cooling process.
Step 10: Open the Mold
Once the plastic has cooled completely, gently open the mold and carefully remove your newly formed plastic bottle.
Step 11: Trim Excess Plastic
If there are any rough edges or excess plastic, you can use a sharp knife or scissors to trim them off.
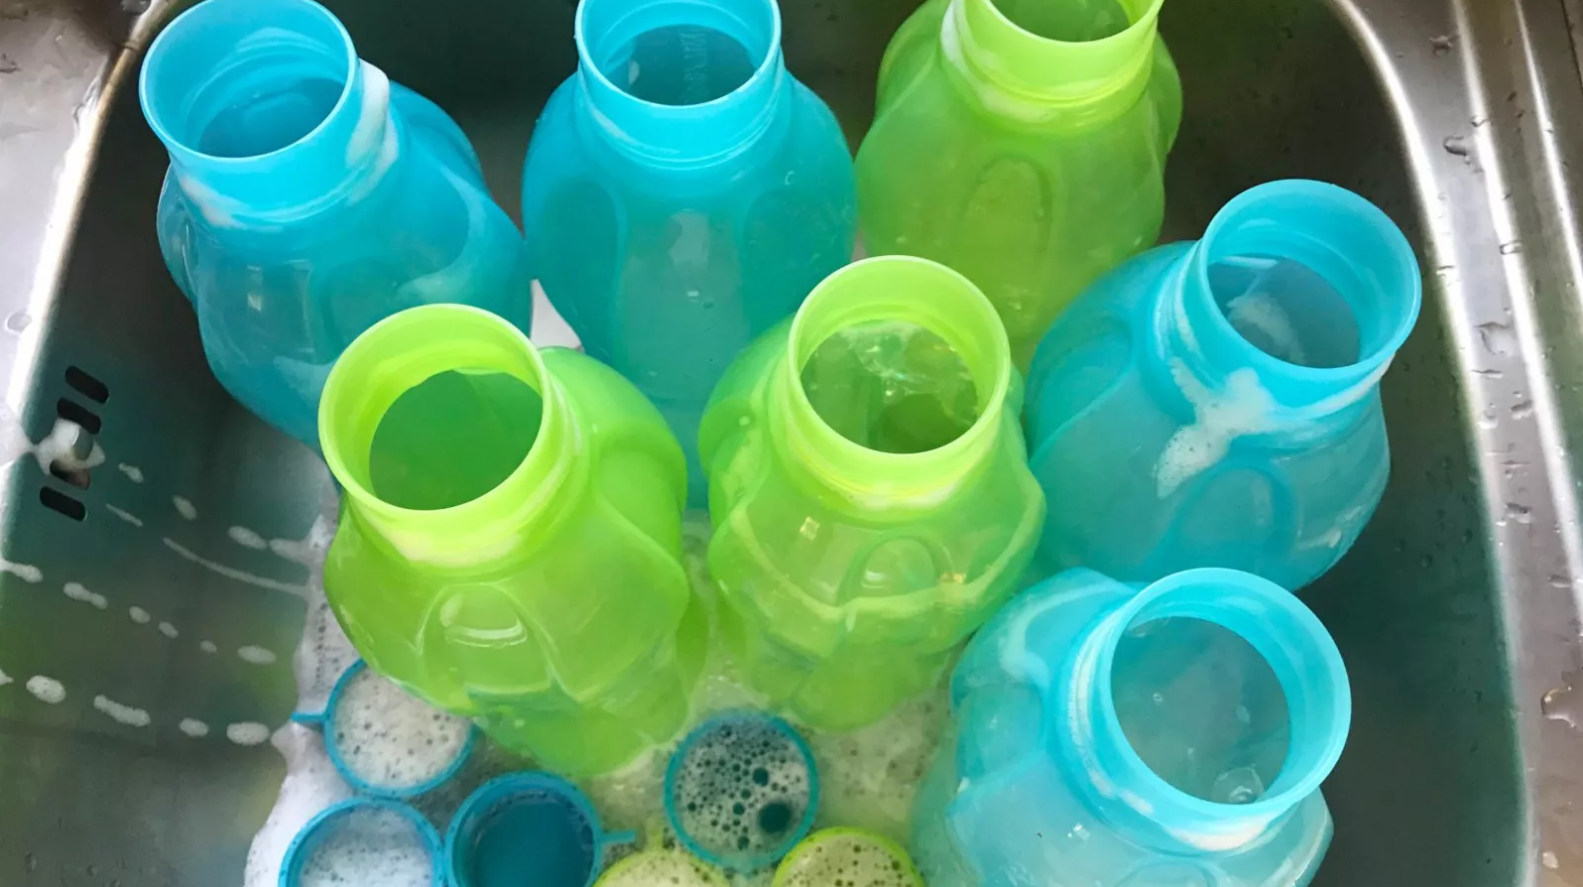
Step 12: Clean the Bottle
Wash the bottle thoroughly with soap and water to remove any residue from the molding process.
Step 13: Reuse or Recycle
Now that you have your homemade plastic bottle, you can use it for various purposes, such as storing liquids or creating DIY projects. If you no longer need it, make sure to recycle it responsibly.
Which Blow Molding Process is Right for Your Bottle?
Choosing the right blow molding process for your bottle is crucial to ensure a successful production. There are three primary types of blow molding: extrusion blow molding, injection blow molding, and stretch blow molding. Let’s explore each process to help you make an informed decision.
Extrusion Blow Molding:
Extrusion blow molding is ideal for making simple, hollow plastic bottles. The process involves melting plastic pellets and then forming a parison, a tube-like structure. A mold then blows air into the parison, forcing it to take the shape of the mold. This method is cost-effective for high-volume production of bottles with consistent shapes.
Injection Blow Molding:
Injection blow molding is perfect for producing small, intricate bottles with tight neck tolerances. It starts with injecting molten plastic into a cavity to form a preform. The preform is then transferred to a blow mold, where it’s inflated with air to create the final bottle shape. This process offers excellent precision and is commonly used for pharmaceutical and personal care bottles.
Stretch Blow Molding:
Stretch blow molding is suitable for producing clear, lightweight bottles commonly used for beverages and water. It begins with the injection molding of a preform, similar to injection blow molding. The preform is then reheated, stretched, and blown into the final bottle shape using high-pressure air. This method provides superior bottle clarity and is ideal for high-quality packaging.
To determine the right blow molding process for your bottle, consider these factors:
Bottle Design: If your bottle has complex features or needs precise neck tolerances, injection blow molding might be the best choice. For simpler designs, extrusion blow molding could suffice.
Material: Different blow molding processes work better with specific materials. Consider the properties of the plastic you want to use and ensure it’s compatible with your chosen process.
Production Volume: If you need many bottles, extrusion blow molding’s high-speed production may be the most efficient option. Injection or stretch blow molding might suit smaller batches or speciality bottles.
Bottle Size: The size of your bottle matters too. Some blow molding methods are better suited for small bottles, while others excel at producing larger containers.
FAQs
What is blow molding, and how does it work?
Blow molding is a manufacturing process to create hollow plastic products, like bottles. Melt plastic, shape it using a mold, and then blow it with air to form the final product.
Which type of blow molding is best for beverage bottles?
For beverage bottles, experts recommend stretch blow molding. It offers excellent clarity, is lightweight, and is commonly used for water and soda bottles.
Which types of plastics can you use in blow molding?
You can use various plastics, including PET, HDPE, and LDPE. The choice depends on the bottle’s purpose and characteristics desired.