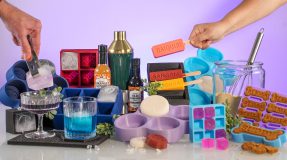
Creating custom silicone molds is an exciting project that can open up a world of possibilities. Whether you’re making unique soaps, candles, or even chocolates, silicone molds offer the flexibility and durability you need. Here’s a comprehensive, step-by-step guide on how to make custom silicone molds from scratch.
Step 1: Gather Your Materials
Before you begin, collect all the required supplies. Having everything within arm’s reach saves time and prevents interruptions.
Two-part silicone molding compound: Make sure to check the curing time and temperature recommendations.
A mixing bowl and spatula: Choose ones that you don’t mind getting messy.
The object you wish to mold (the “master”): This should be clean and dry.
A mold box: You can use any container with straight sides, such as a shoebox.
Measuring cups: These are for measuring the silicone.
Rubber gloves: For your safety, opt for nitrile or latex gloves.
Newspaper or plastic sheeting: These materials will protect your working area.
A scale: For precise measurements of the silicone compound.
A releasing agent or mold release spray: This ensures easy removal of the mold later.
Step 2: Prepare Your Workspace
Find a flat and stable work surface. Cover it with newspapers or plastic sheets. Make sure you have ample space for all your supplies and for the mold to cure without disturbance.
Step 3: Put on Safety Gear
Wear rubber gloves to protect your skin from direct contact with the silicone and any chemicals you might use. It’s better to be safe than sorry.
Step 4: Prepare the Mold Box
Place your master object inside the mold box. Ensure there’s at least half an inch of space on all sides. This area will form the silicone mold’s walls. If your mold box is too big, you can use cardboard or clay to create partitions.
Step 5: Apply Release Agent
Spray a releasing agent on the mold box’s inner surfaces and the master object. This step ensures the silicone will separate easily after curing.
Step 6: Measure the Silicone
Use a scale to weigh the two components of the silicone. Accuracy is crucial; even a small imbalance can affect the curing process.
Step 7: Mix the Silicone
Combine the two silicone parts in a mixing bowl. Use a spatula to mix until the color is uniform. Thorough mixing is crucial for proper curing.
Step 8: Pour the Silicone
Start pouring the silicone into the mold box from the lowest point of the master object, moving upwards. This method reduces the risk of air bubbles forming in the mold.
Step 9: Eliminate Air Bubbles
Tap the sides of the mold box gently with your hand or a small tool to encourage any air bubbles to rise to the surface. Use a toothpick to pop stubborn bubbles.
Step 10: Let It Cure
Allow the silicone to cure for the time specified in the manufacturer’s instructions. During this period, keep the mold box in a stable, flat position, free from disturbances.
Step 11: Test the Cure
After the curing time has elapsed, lightly press the silicone’s surface. If it feels solid and not tacky, it’s fully cured and ready for demolding.
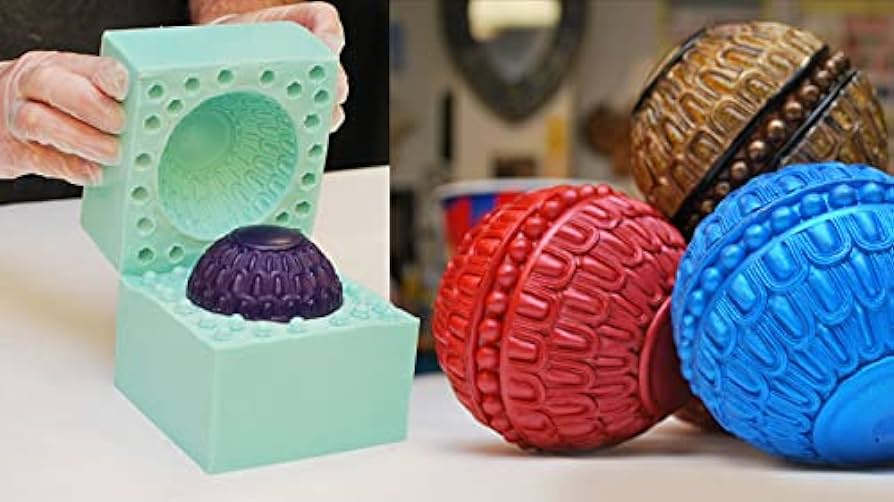
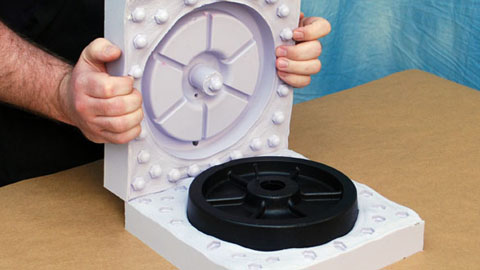
Step 12: Remove the Mold
Carefully separate the silicone mold from the mold box. Be gentle when pulling out the master object to avoid tearing the mold.
Step 13: Trim Excess
Use sharp scissors or a utility knife to trim away any excess silicone. Make sure to maintain the mold’s integrity while doing this.
Step 14: Post-Cure (Optional)
Some silicone types require a post-curing process. If so, follow the manufacturer’s instructions, which may include baking the mold in an oven.
Step 15: Test the Mold
Before diving into your main project, conduct a trial run using a less expensive material. This will help you assess the mold’s quality and understand how well it fills and releases.
Additional Tips
- Always work in a well-ventilated space to minimize fume inhalation.
- Practice with a simple master object first if you’re new to mold-making.
- Keep an eye on safety guidelines listed on your silicone and release agent.
By following these detailed steps, you’ll be well on your way to creating custom silicone molds that meet your needs.
FAQs
What are the key materials needed to make a custom silicone mold?
You’ll need a two-part silicone molding compound, a mixing bowl and spatula, an object to mold, and a mold box. Measuring cups, rubber gloves, and a releasing agent are also essential.
How do I avoid air bubbles in my silicone mold?
Pour silicone slowly, starting at the lowest point and moving upward. Tap the sides of the mold box or use a toothpick to remove any visible air bubbles.
How long does it take for the silicone mold to cure?
Curing time depends on the specific silicone compound you’re using. Check the manufacturer’s instructions for accurate timing. Make sure the silicone is firm and not tacky before demolding.
Can I reuse my custom silicone mold?
Yes, one of the benefits of silicone molds is their reusability. However, the lifespan varies based on the complexity of the mold and how often you use it.
Is it safe to use silicone molds for food items like chocolates or jellies?
Silicone molds used for food should be food-grade quality. Always check the manufacturer’s specifications to ensure the silicone is food-safe before using it for culinary purposes.