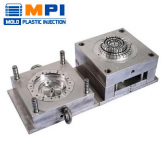
If you want special molds for your ideas or business, check out MoldPlasticInjection.com. They make custom silicone molds. Whether you bake, craft, or manufacture, they can help. Just go to their website, upload your design, and get a quote fast. They are experts who care about quality, so trust them to make your custom molds.
What are custom silicone mold?
A custom silicone mold is a specially made mold created from silicone material according to your specific design or shape requirements. It’s a versatile tool used in various industries, like baking, crafting, and manufacturing.
To create one, craft or 3D print your desired object first. Then, pour silicone rubber over it. After it cures, remove the object, leaving a negative impression. You can now use this mold to replicate the original object.
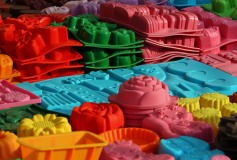
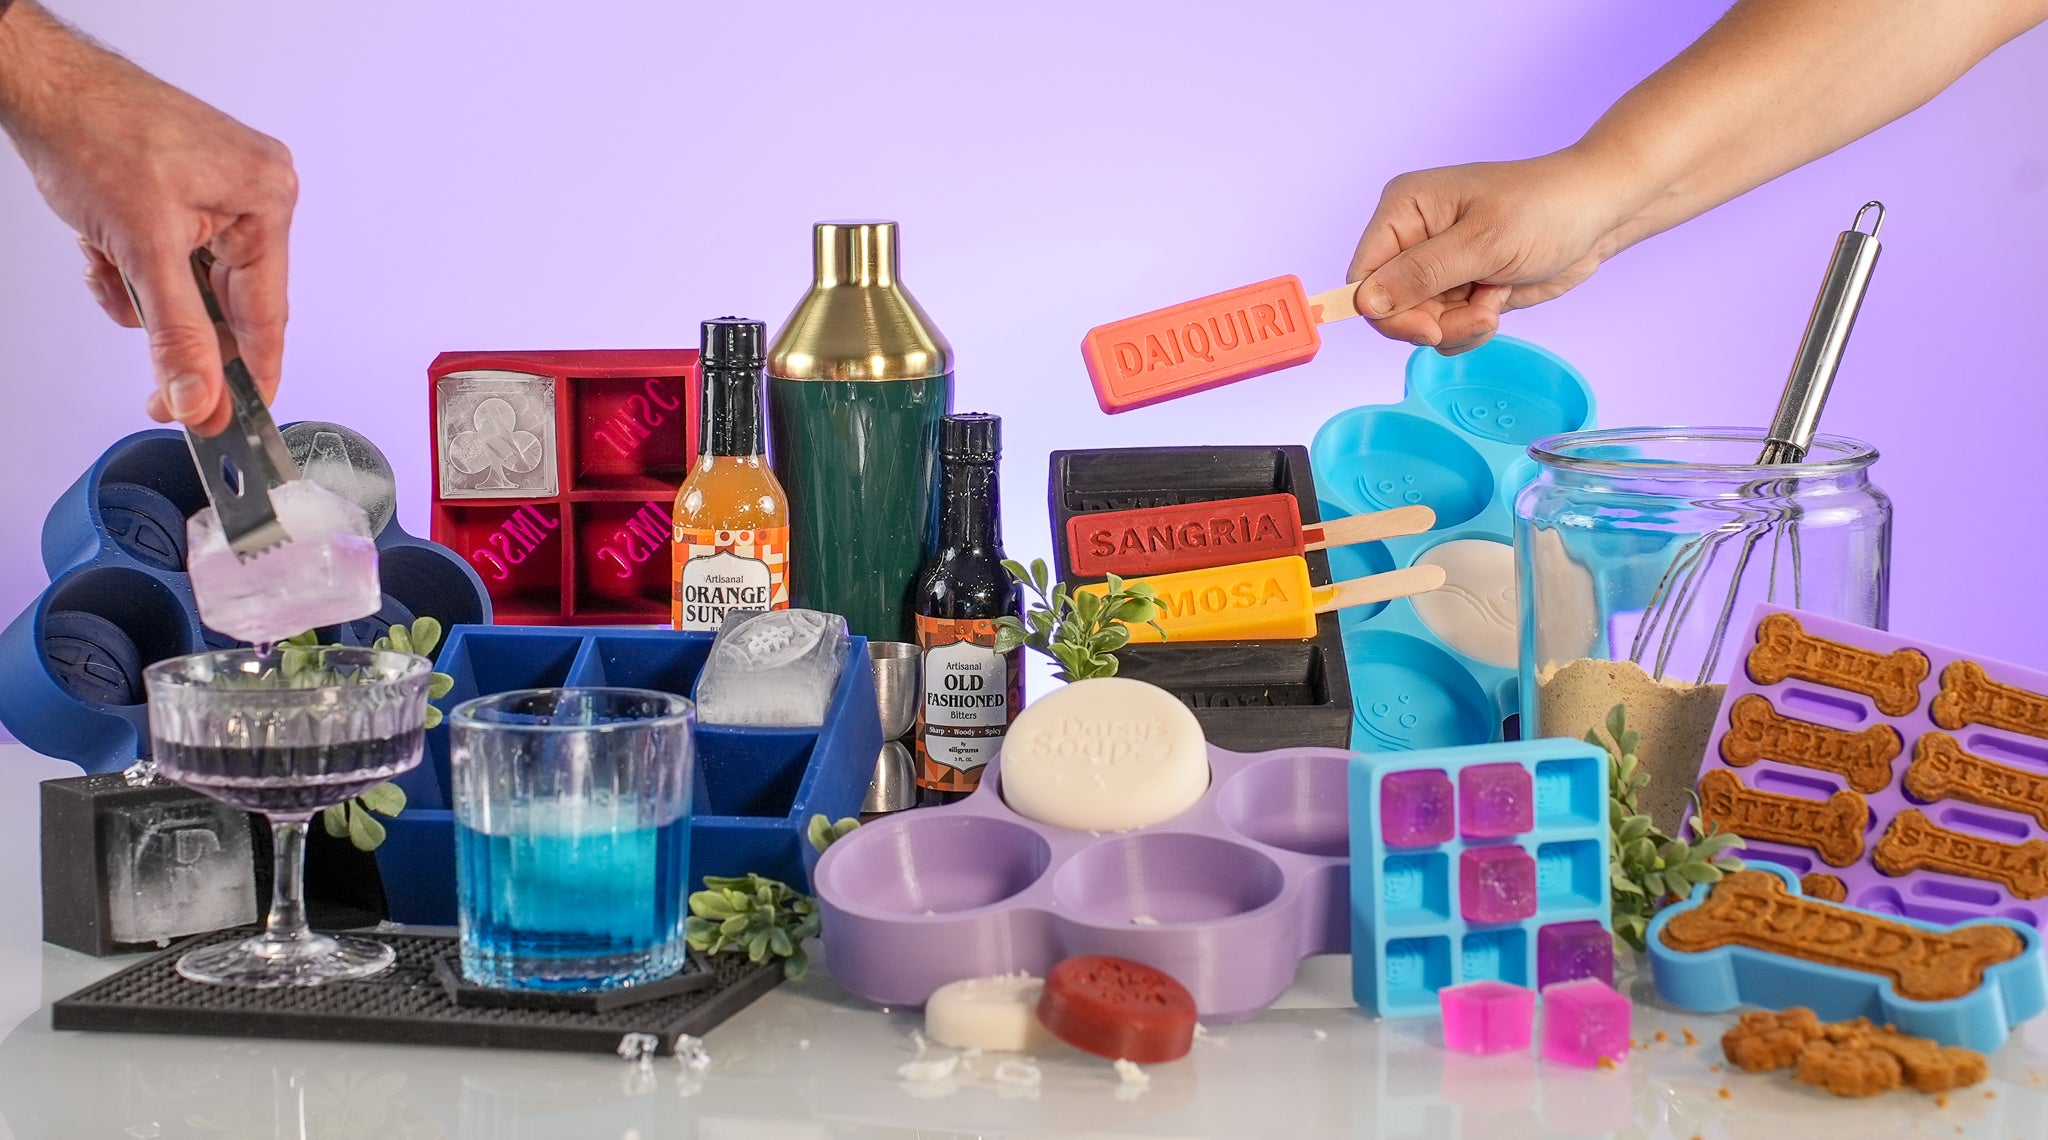
Custom silicone molds are fantastic for creating unique chocolates, soap bars, resin crafts, and even prototypes in the manufacturing world. They’re easy to use and offer precise replication of your chosen design.
Why is custom silicone mold used?
Custom silicone molds are indispensable tools utilized across various industries, from baking to crafting and manufacturing. Let’s delve into the reasons why these molds are in high demand and how they benefit different sectors:
Creative Freedom in Baking
Custom silicone molds empower pastry chefs and bakers to explore their creativity. By crafting molds tailored to specific designs, they can produce one-of-a-kind cakes, cookies, and chocolates. These molds are especially useful for adding personalized touches to confectionery, making them ideal for special occasions like weddings and birthdays.
Crafting: Precision and Personalization
Crafters and artists leverage custom silicone molds to elevate their creations. These molds can replicate intricate details for resin jewelry, soap, and decorative items. The ability to design molds that match unique themes or artistic visions allows crafters to stand out in a competitive market and offer personalized products to their customers.
Manufacturing: Prototyping and Precision
Custom silicone molds play a pivotal role in the manufacturing sector. Engineers and product designers use them to create accurate prototypes. This enables them to test their designs before moving forward with mass production, ultimately saving time and resources. The molds’ precision ensures that the final products meet stringent specifications.
Durability for Repeated Use
Silicone, the main material for custom molds, has durability as its key feature. It withstands high temperatures and keeps its shape over time. This durability ensures that custom silicone molds maintain quality and effectiveness through multiple uses, benefiting manufacturers and crafters.
Ease of Use and Demolding
People recognize custom silicone molds for their user-friendly features. They are inherently non-stick, simplifying the demolding process and reducing the risk of damaging the casted objects. This ease of use streamlines production, making it efficient and hassle-free.
The steps to make your own custom silicone mold
Creating your own custom silicone mold is a fun and rewarding DIY project. Follow these step-by-step instructions to make your personalized mold for various applications, from baking to crafting and more.
Step 1: Gather Your Materials
- First, gather the necessary materials:
- An object you want to mold (the original)
- Silicone molding rubber
- A mixing container
- Stirring sticks
- Mold release agent
- A mold box or container
- A scale (for precise measurements)
Step 2: Prepare Your Workspace
Find a well-ventilated and well-lit workspace. Lay down protective coverings as silicone can be messy. Ensure everything is within reach for a smooth workflow.
Step 3: Prepare the Original Object
Clean and dry the object you intend to mold. Apply a mold release agent to prevent the silicone from sticking to it. This step is crucial for easy mold removal later.
Step 4: Create a Mold Box
If your object has an irregular shape, you’ll need to build a mold box or container around it. Use cardboard, plastic, or any suitable material. Make sure it’s taller and wider than the object to accommodate the silicone.
Step 5: Measure and Mix the Silicone
Measure the silicone molding rubber according to the manufacturer’s instructions. Typically, you’ll need equal parts of the base and the catalyst. Use a scale for precision.
Step 6: Mix the Silicone Thoroughly
Pour the measured silicone components into a mixing container. Use stirring sticks to blend them together. Stir for a few minutes until the mixture becomes a uniform color.
Step 7: Pour Silicone into the Mold Box
Slowly pour the mixed silicone into the mold box, covering the object entirely. To prevent air bubbles, pour it in a thin stream from a height.
Step 8: De-Air the Silicone
Gently tap the mold box on a surface to release trapped air bubbles. You can also use a vibrating table if available.
Step 9: Allow the Silicone to Cure
Refer to the silicone manufacturer’s instructions for curing time. Typically, it takes 12-24 hours for the silicone to set and harden.
Step 10: Remove the Mold
Once the silicone is fully cured, carefully remove the mold from the mold box. You may need to cut the mold box open or remove screws if you used a rigid container.
Step 11: Extract the Original Object
Peel back the silicone mold to reveal the original object inside. The mold release agent should make this step relatively easy.
Step 12: Trim and Clean the Mold
Trim any excess silicone and clean up any rough edges or imperfections on the mold.
Step 13: Test the Mold
Before using your custom silicone mold, it’s a good idea to perform a test casting to ensure it captures all the details and releases the object easily.
Step 14: Create Your Replicas
Now that your custom silicone mold is ready, you can use it to create replicas of your original object. Pour or press your chosen material (such as chocolate, resin, or soap) into the mold and allow it to set or cure according to the material’s instructions.
Step 15: Care for Your Mold
After each use, clean your silicone mold with warm, soapy water and allow it to dry thoroughly. Store it in a cool, dry place to prolong its lifespan.
Where can I get a custom silicone mold made?
You can get a custom silicone mold made at MoldPlasticInjection.com, a trusted source for personalized molding solutions. Their website offers user-friendly tools to upload your design and specify your requirements. They have a team of experts who can guide you through the process. Simply visit their website, submit your project details, and receive a quote. Their services cater to a wide range of industries, from baking to manufacturing. With MoldPlasticInjection.com, you can turn your creative ideas into reality with high-quality custom silicone molds. It’s a convenient and reliable option for all your molding needs.

FAQs
How do I make a custom silicone mold myself?
To make your own mold, gather materials like silicone rubber, a mixing container, and your original object. Follow these steps: prepare the object, mix and pour silicone, de-air, cure, and finally, remove the mold.
Are custom silicone molds reusable?
Yes, custom silicone molds are durable and reusable. With proper care, you can use them multiple times without them losing shape or effectiveness. After each use, clean the mold with warm, soapy water and store it in a cool, dry place.
What materials can I use with custom silicone molds?
Custom silicone molds are versatile and compatible with various materials such as chocolate, resin, soap, clay, and even some low-temperature metals. It’s essential to follow the specific instructions for each material to achieve the best results.