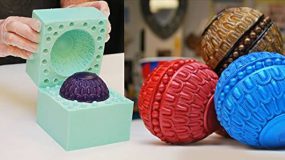
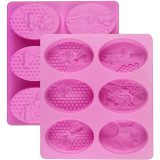
Thanks for coming to our fun and easy guide for creating freshie silicone molds! We offer all the help you require, no matter your skill level. Explore how to make trendy molds for all your tasks with silicone rubber. We’ll guide you through the steps for making everything from jewelry to toys. Say goodbye to air bubbles and allow flawless molds every time! Let’s take a plunge and release our creativity. Get set to mold!
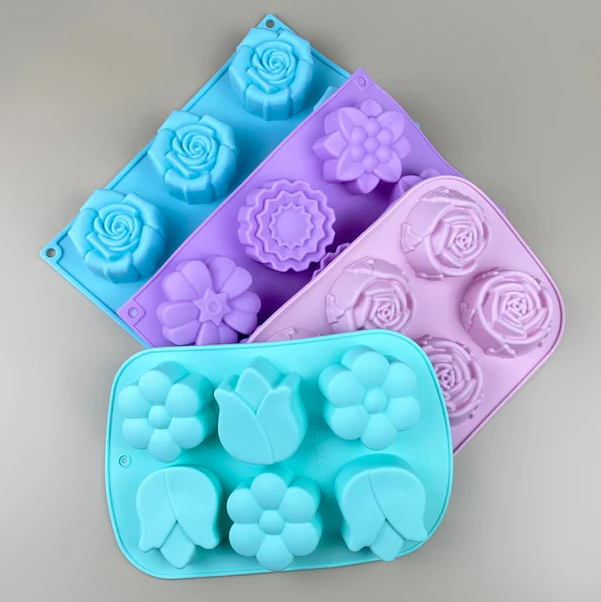
How to make freshie silicone molds
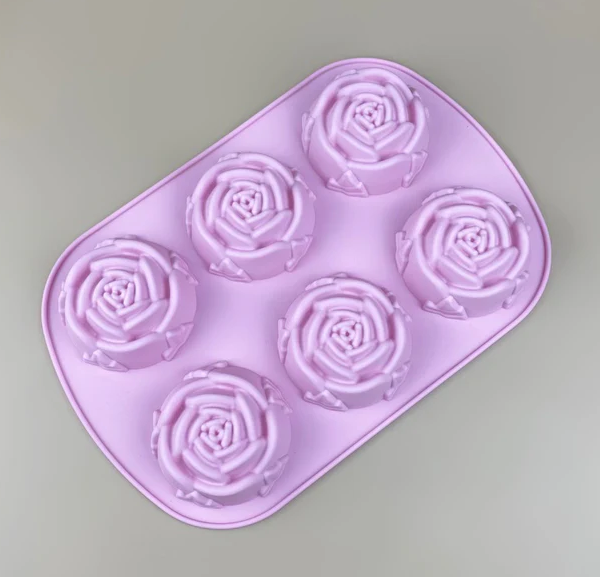
Many steps go into making these molds for freshies. It assures that the final item will be both visually lovely and helpful. An essential guide to creating these molds for freshie items will be seen below:
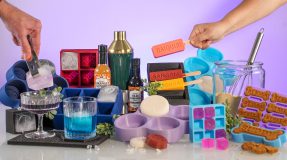
Things Needed:
- Silicone rubber—(you can use platinum- or tin-cure, based on your taste. It is resistant to chemicals and has longevity).
- Catalyst (If not yet supplied in a one-part kit) (for fixing the silicone)
- Mold release agent (to verify that the silicone is not stuck to the case or the master model)
- Master model (The master version is what you wish to copy with your novice).
- Mixing bowls and sticks
- Safety lenses and gloves.
- A scale (need exact size; require one for the silicone)
- A container (into which the silicone is poured around the master model)
- A knife (for cutting extra edges).
How to Create Freshie Silicone Molds:
First, make the master model ready.
- Select a part that shows the design you wish to see in your freshie. Everything from primary geometric forms to more creative figures could be this.
- Use a release agent to avoid the silicone sticking to the base design.
Install the molding box.
- Put the master model to rest at a container’s core. The container is advised to be just as significant as the primary model. Also, it creates space for silicone that is thick enough on every side.
- Check that the mold is securely fixed and stays still.
Mix the silicone.
- As advised by the supplier, mix and blend the silicone rubber and catalyst. For the silicone to cure well, there is generally a ratio that needs to be followed.
- To ensure the same texture and avoid air bubbles, offer the mix an ideal mix.
Pour the Silicone.
- Pour the cured silicone into the container gently. To eliminate air bubbles, begin in a single spot and allow them to spread over the model.
- To let out any trapped air, tap the container’s edges.
Fix the Silicone.
- Let the silicone set for the time that the maker has advised. Based on the silicone form, this may take some time overnight.
- Sixth, Demold
- The master model should be removed from the mold once the silicone has completely set.
- Use a sharp blade or scissors to trim the edges, or use more silicone.
Last Touches.
It’s now time to put in your silicone mold to make freshies. To make your freshies, put the supplies of what you want (scented wax or resin, for all) into the mold.
Upkeep and Care.
Apply soapy water to wash your molds. And while keeping them, let them fully dry. To avoid cutting, avoid using sharp tools to remove the dried stuff from the molds.
Success Tips
- To avoid air bubbles, slowly add the silicone in a thin line. When making exact molds, plan on cleaning the silicone in a clean room.
- The cure Time: Allow the silicone a chance to cure fully, but not rush it. Removing the base model takes place to prevent the mold from getting deformed.
This method offers you plenty of choice in the size and form of your freshies. It is excellent for both business and private use.
Where can I get to know freshie silicone molds best?
Are you trying to locate a good source for freshie silicone molds? Browse no further than EX MOULD Co., Ltd.! Due to their user-friendly site, you can easily find the ideal molds for the job with little work. They offer everything from regular shapes to incredible, unique ideas. Also, you should receive the best because their molds are of the highest quality. Visit EX MOULD Co., Ltd. to get started attaining your unique ideas!
FAQs
Can I use any silicone rubber?
It’s best for molds because it captures details well and sets correctly.
How do I prepare my object?
Make sure it’s clean. Use a mold release agent if it’s porous or to help with removal later.
How do I mix silicone rubber?
Mix Part A and Part B in equal parts until they are all the same color.
How can I avoid air bubbles?
Mix slowly, and tap the container to release any bubbles.
Do I need a mold box?
Yes, it keeps the silicone in shape while it sets.
Can I speed it up?
Some types allow for faster setting with heat, but follow instructions carefully.
How do I remove the object?
Gently flex or peel the mold away. Use a release agent or gentle heat if needed.
Conclusion
Finally, the key to creating these molds is to let the ideas run free and enjoy yourself immensely. This method lets you show off your ideas in limitless forms, regardless of age. Take what you need, then, and get going! Get rid of the need for perfection and instead work on having fun and seeing your plans come to life. You’re offering the world just a little of yourself with every mold you create. So keep making, studying, and, best of all, smiling. Have fun creating!