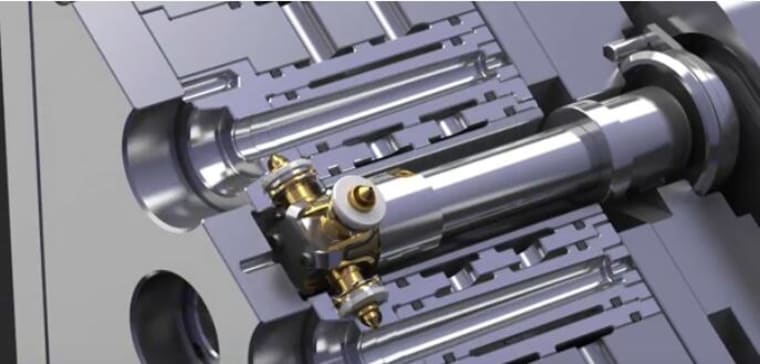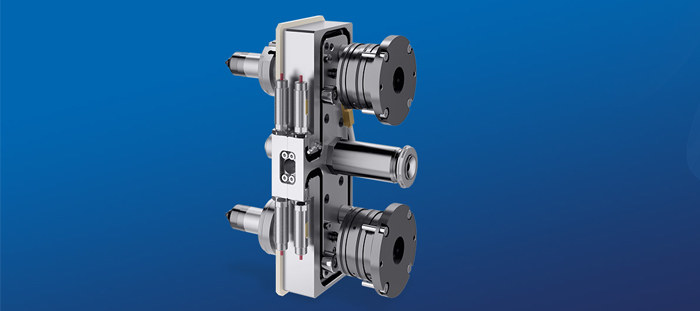
The Benefits Of Utilize The System Of Hot Runner/Hot Manifold
To mold parts more accurately and efficiently, many companies today design their molds with a hot runner or hot manifold system. they have several advantages over cold runner systems including scrap production, minimal gate vestige, improved cycle time, better process control, more park design options, no need for runner removal, robotics, or separators.
The Importance Of The Daily Maintenance For The Hot Runner System
The hot runner systems can experience a catastrophic failure known as encapsulation or the flooding of a hot runner system where a leak fills the entire system with plastic. wires, thermocouples heaters nozzles, and sometimes even the control box can be encapsulated in hardened plastic, which is extremely difficult to remove.

How To Clean A Hot Runner System
Repair technicians must be properly trained in hot runner characteristics so that companies are not experiencing unnecessarily long and expensive downtime hours while waiting to get a mold return from an outside vendor. repairing and maintaining a typical hot runner system takes maintenance skills to the next level. successful hot runner repair requires a higher level of understanding, concerning how they function and their critical areas that need to be monitored. safe, precise, and reliable repairs can only be accomplished in a methodical approach that utilizes accurate documentation and a thorough knowledge base that guides technicians through specific procedures during maintenance and repair work. tooling in a typical hot runner system must be handled with great care while cleaning inspecting and reassembling. specific practices and techniques must be used to prevent potential flooding or encapsulation disasters that can plague all hot runner systems. also discussed are various processing techniques and resins that can have a huge effect on the performance, condition, and maintenance practices of a hot runner system. the cleaning procedure of manifold cleaning, refurbishment, electrical on hot runner systems is crucial.
There are two choices for cleaning up the system: the first choice is to send it to a qualified service center where the system will be placed in an oven at high temperatures to burn off the excess plastic. the advantage of this method is a fast turnaround with new thermocouples and heaters. the disadvantage is cost. new thermocouples and heaters are expensive. time is also a factor, it may take about a week to have the mold returned or longer if 48 heaters cannot be quickly found. the second choice is to clean it in-house. this option can save thousands of dollars, including a 50% to 75% savings just in thermocouples and heaters. a determination also can be made from where the leak came from. knowledge can be gained on how to prevent future leaks and the overall operation of the system. house repairs properly executed will always save time and money. there are disadvantages to an in-house repair it can take 40 man-hours or more to completely clean and rewire the system on a typical 48 cavity mold, even longer if you don’t have the proper equipment. cleaning and repairing an encapsulated system also requires a higher skill level to troubleshoot, clean, and reassemble without further damage. failing to do this correctly can cause the system to flood again. due to an unrelated issue that caused the first flooding. many hot runner manifold problems can be traced back to a lack of knowledge concerning hot runner assembly mistakes, poor work habits, improper tools use during the clean and repair of the manifold, and critical components.
Here are some methods and tools that will make it possible to separate the wires properly and safely and allowing the heaters and thermocouples to be removed. this must be done first to remove the nozzles from the plate for cleaning and inspection. For example, a 48 cavity valve gate system that was completely flooded from the front or nozzle tip side of the hot half of the mold. it appears that there is a major leak between the nozzle seal and the cavity block, allowing the plastic to flow into the wire channels, then back into the manifold. unfortunately, this completely encased the wires in plastic, or in this case polypropylene. several different colors could be seen, so the leak was not detected immediately. since the mold is going to need a complete teardown, the electric control box, manifolds, bridge have been removed. all wires have been numbered and disconnected so they can be thread through the wire channels in the plate one at a time. on this mold, the thermocouple wires run along the entire length of the nozzle, making removal from the front impossible. this will necessitate removing the nozzle from the back just to get to the thermocouple. on better design systems, thermocouples are easily removed from the front of the mold instead of requiring a complete manifold removal just to change out a defective one. make sure the necessary safety equipment is present. this includes a full face mask, heat-resistant gloves, and a shop coat.
a vacuum system to draw off as much of the smoke as possible as desirable as is plenty of light, tilting the mold back at about a 20-degree angle is helpful to get it into a more comfortable working position, resulting in better control of melting and separating the wires. the objective is to see exactly where the wires are routed through the channel and to which heater, so the wrong wire will not be pulled, which could break it. even though the control box has been disconnected and removed, the heaters can still be warmed up to remove the plastic that surrounds them. using a special tool and a direct connection to a 110-volt plug. the individual band heaters can be heated to remove the plastic that surrounds them, giving us a better view of the wiring around each nozzle. our meter has a temperature probe built into it, allowing for the monitoring of the temperature as the heater warms up. once these are removed, the next step is to trace and free up all of the wires. the typical method for freeing the wires is to utilize a heat gun that puts out about 1,200 degrees of air but in a wide area. this gun is useful since it won’t burn up the wiring easily as its heat is not concentrated. it melts the plastic slowly, many times the wiring is tangled up which makes it difficult to trace what wire is going where unless you can push the plastic away with a small tool. another tool is tooling docks, whenever there is a need to melt and remove the plastic. and then the laser blade expels hot air around eight hundred to a thousand degrees, but at a much higher velocity than a typical heat gun. the high-velocity air helps to move the melted plastic off the wires to better expose which wire is the focus and to trace and free it faster. patience and careful attention to the location of the heat gun must be used as the heater and thermocouple wires are easily burned or damaged during removal, it takes a bit of practice to correctly gauge the distance from the hot tip of the gun to the wires and then judge the speed at which to move the gun. once the wires have been freed, they can be fed through the wire channels. the heaters are warmed up again to expand them which aids greatly in their removal from the nozzle. sometimes there can be a problem such as a stripped bolt head. a square-headed easy-out makes quick work of this problem. when the nozzle is ready, use a hammer and special punch that is soft and configured correctly to tap the nozzle out of the plate. the thermocouple will be removed with the nozzle, set the assembly aside, and continue until all nozzles are removed from the plate and the components are ready for cleaning.
